
We’ve all been there: a passionate night out leaves you with an unexpected souvenir—a hickey. While they may symbolize a moment of fun, they can also lead to some unwanted questions and awkward conversations. If you’ve just got it, you may be wondering, “Okay, how long does it take for a hickey to go away?” The answer can vary, but on average most hickeys will fade within a week or two. But, no need to stress! With the right makeup tips, you can easily conceal that little mark and keep your secrets safe. Here are some hickey makeup hacks to help you out.
Primer It Down (Not Too Creamy or Greasy)

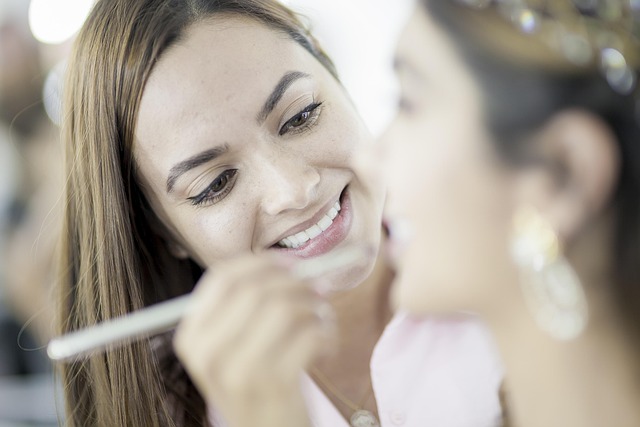
Using a primer is essential when learning how to conceal a hickey. It creates a smooth canvas for your makeup, helping it adhere better and last longer. Choose a lightweight formula that won’t feel heavy or greasy on your skin. Avoid overly creamy primers as they can draw attention to the area instead of hiding it. A matte finish works wonders in minimizing shine while keeping things looking natural.
Apply the primer gently with your fingertips, focusing on the hickey itself and surrounding skin. This step sets you up for successful coverage without making the area look too obvious or exaggerated.
Color-Correct It
Color correction is the next thing you want to do. Grab a green or peach color corrector from your makeup stash. Green tones neutralize the red hues of fresh bruises, while peach helps with darker ones. Apply a small amount directly onto the hickey using your fingertip or a brush. Gently dab it in so that it’s blended well but still visible underneath your foundation. Remember, less is more! Let this layer dry for a few moments before moving on to the foundation. This little trick will help create an even base and make covering up so much easier!
Even Out the Area With Foundation That Match Your Skin Tone
Once you’ve tackled the color correction, it’s time to even out the area. Choose a foundation that perfectly matches your skin tone for seamless blending. A lightweight formula works wonders here. Using a beauty sponge or brush, gently dab the foundation over the hickey and surrounding skin. This helps create an even surface without drawing attention to any lingering discoloration. But, make it as thin as possible. Apply thin layers and gradually build coverage as needed. You want to disguise the hickey while still looking naturally flawless—no cakey looks allowed!
Keep Your Makeup in Place With Powder
After applying your foundation, you need to set everything in place. A good setting powder is your best friend when it comes to locking in makeup and keeping those hickeys hidden. Choose a lightweight formula that won’t cake on your skin. Lightly dust the powder over the concealed area using a fluffy brush or puff. This helps absorb excess oil and keeps shine at bay throughout the day. Here, less is more! Apply just enough for coverage without making it obvious. With this trick, you can confidently go about your day without worrying about any telltale signs peeking through. After applying your makeup, take a moment to carefully check yourself out in the mirror. This step is crucial for ensuring everything looks seamless. If needed, adjust any areas that need a little extra touch-up. Concealing a hickey can be simple with the right makeup tricks.